Quick-start guide
Learn how to easily configure a quiz from the Getting Started video or by reading the instructions below.
Configure quiz
The easiest way to configure a quiz is to use the product fields in your shop and create a quiz from them. You probably already have fields such as collections and tags assigned to your products. In the Quiz editor, you can easily turn a product field into a question with matching answers using the New question dialogue. Simply select a field for your question and then choose values that will be the possible answers to the question.
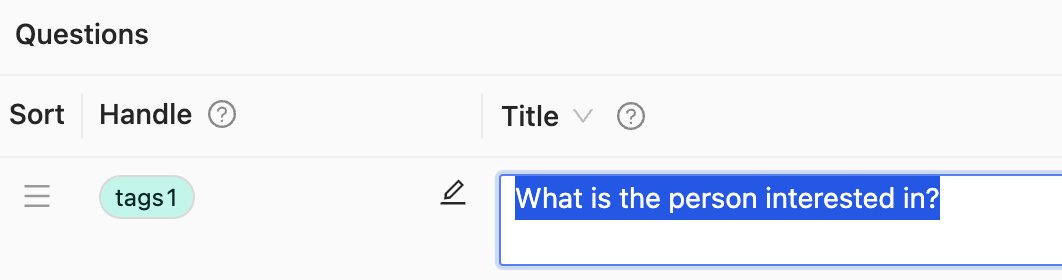
The quiz editor is made up of two simple tables, one for questions and one for answers in which you can then further edit your quiz if necessary.
Here's a step-by-step guide how to turn a product field into a question with matching answers:
- Select the Quiz editor tab in the upper right corner if not already selected

- Click "+ New question" at the top right of the Questions table
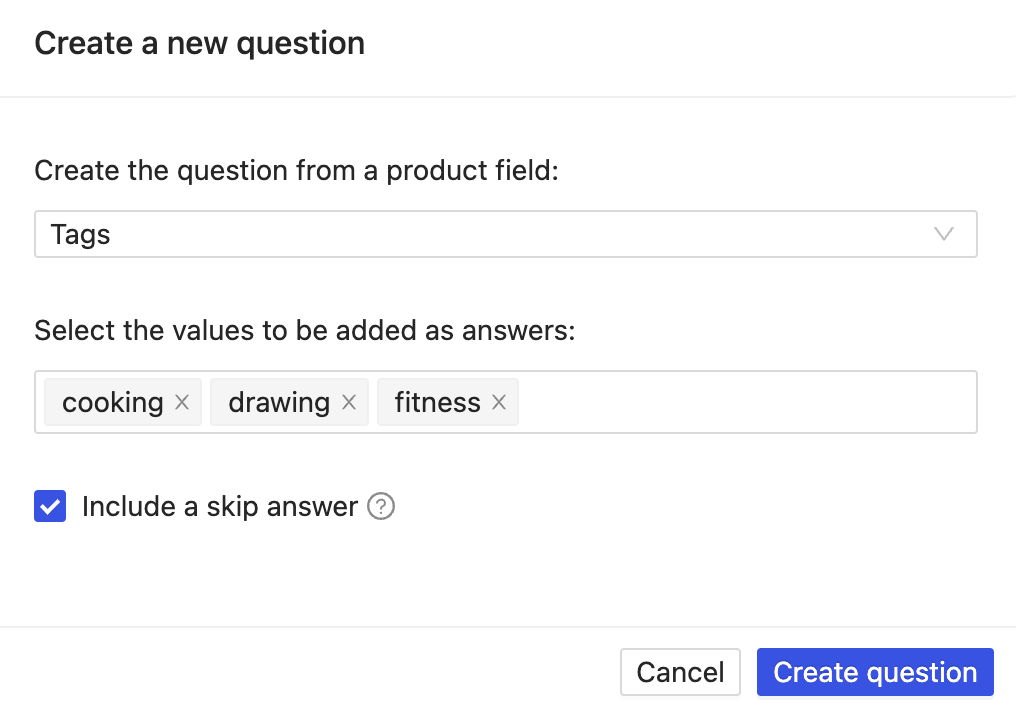
- Select a product field as the basis of the question, e.g. Collections or Tags
- Select values to be added as answers if you selected a standard field
- Select Include a skip answer if you want to include an answer for skipping the question
- Click Create question in the bottom left of the dialogue
- Edit titles of questions and answers in the Questions and Answers tables
- Save quiz by clicking the Save button at the top right of the page
Preview quiz
After configuring and saving a quiz you can preview it by selecting the Preview tab.
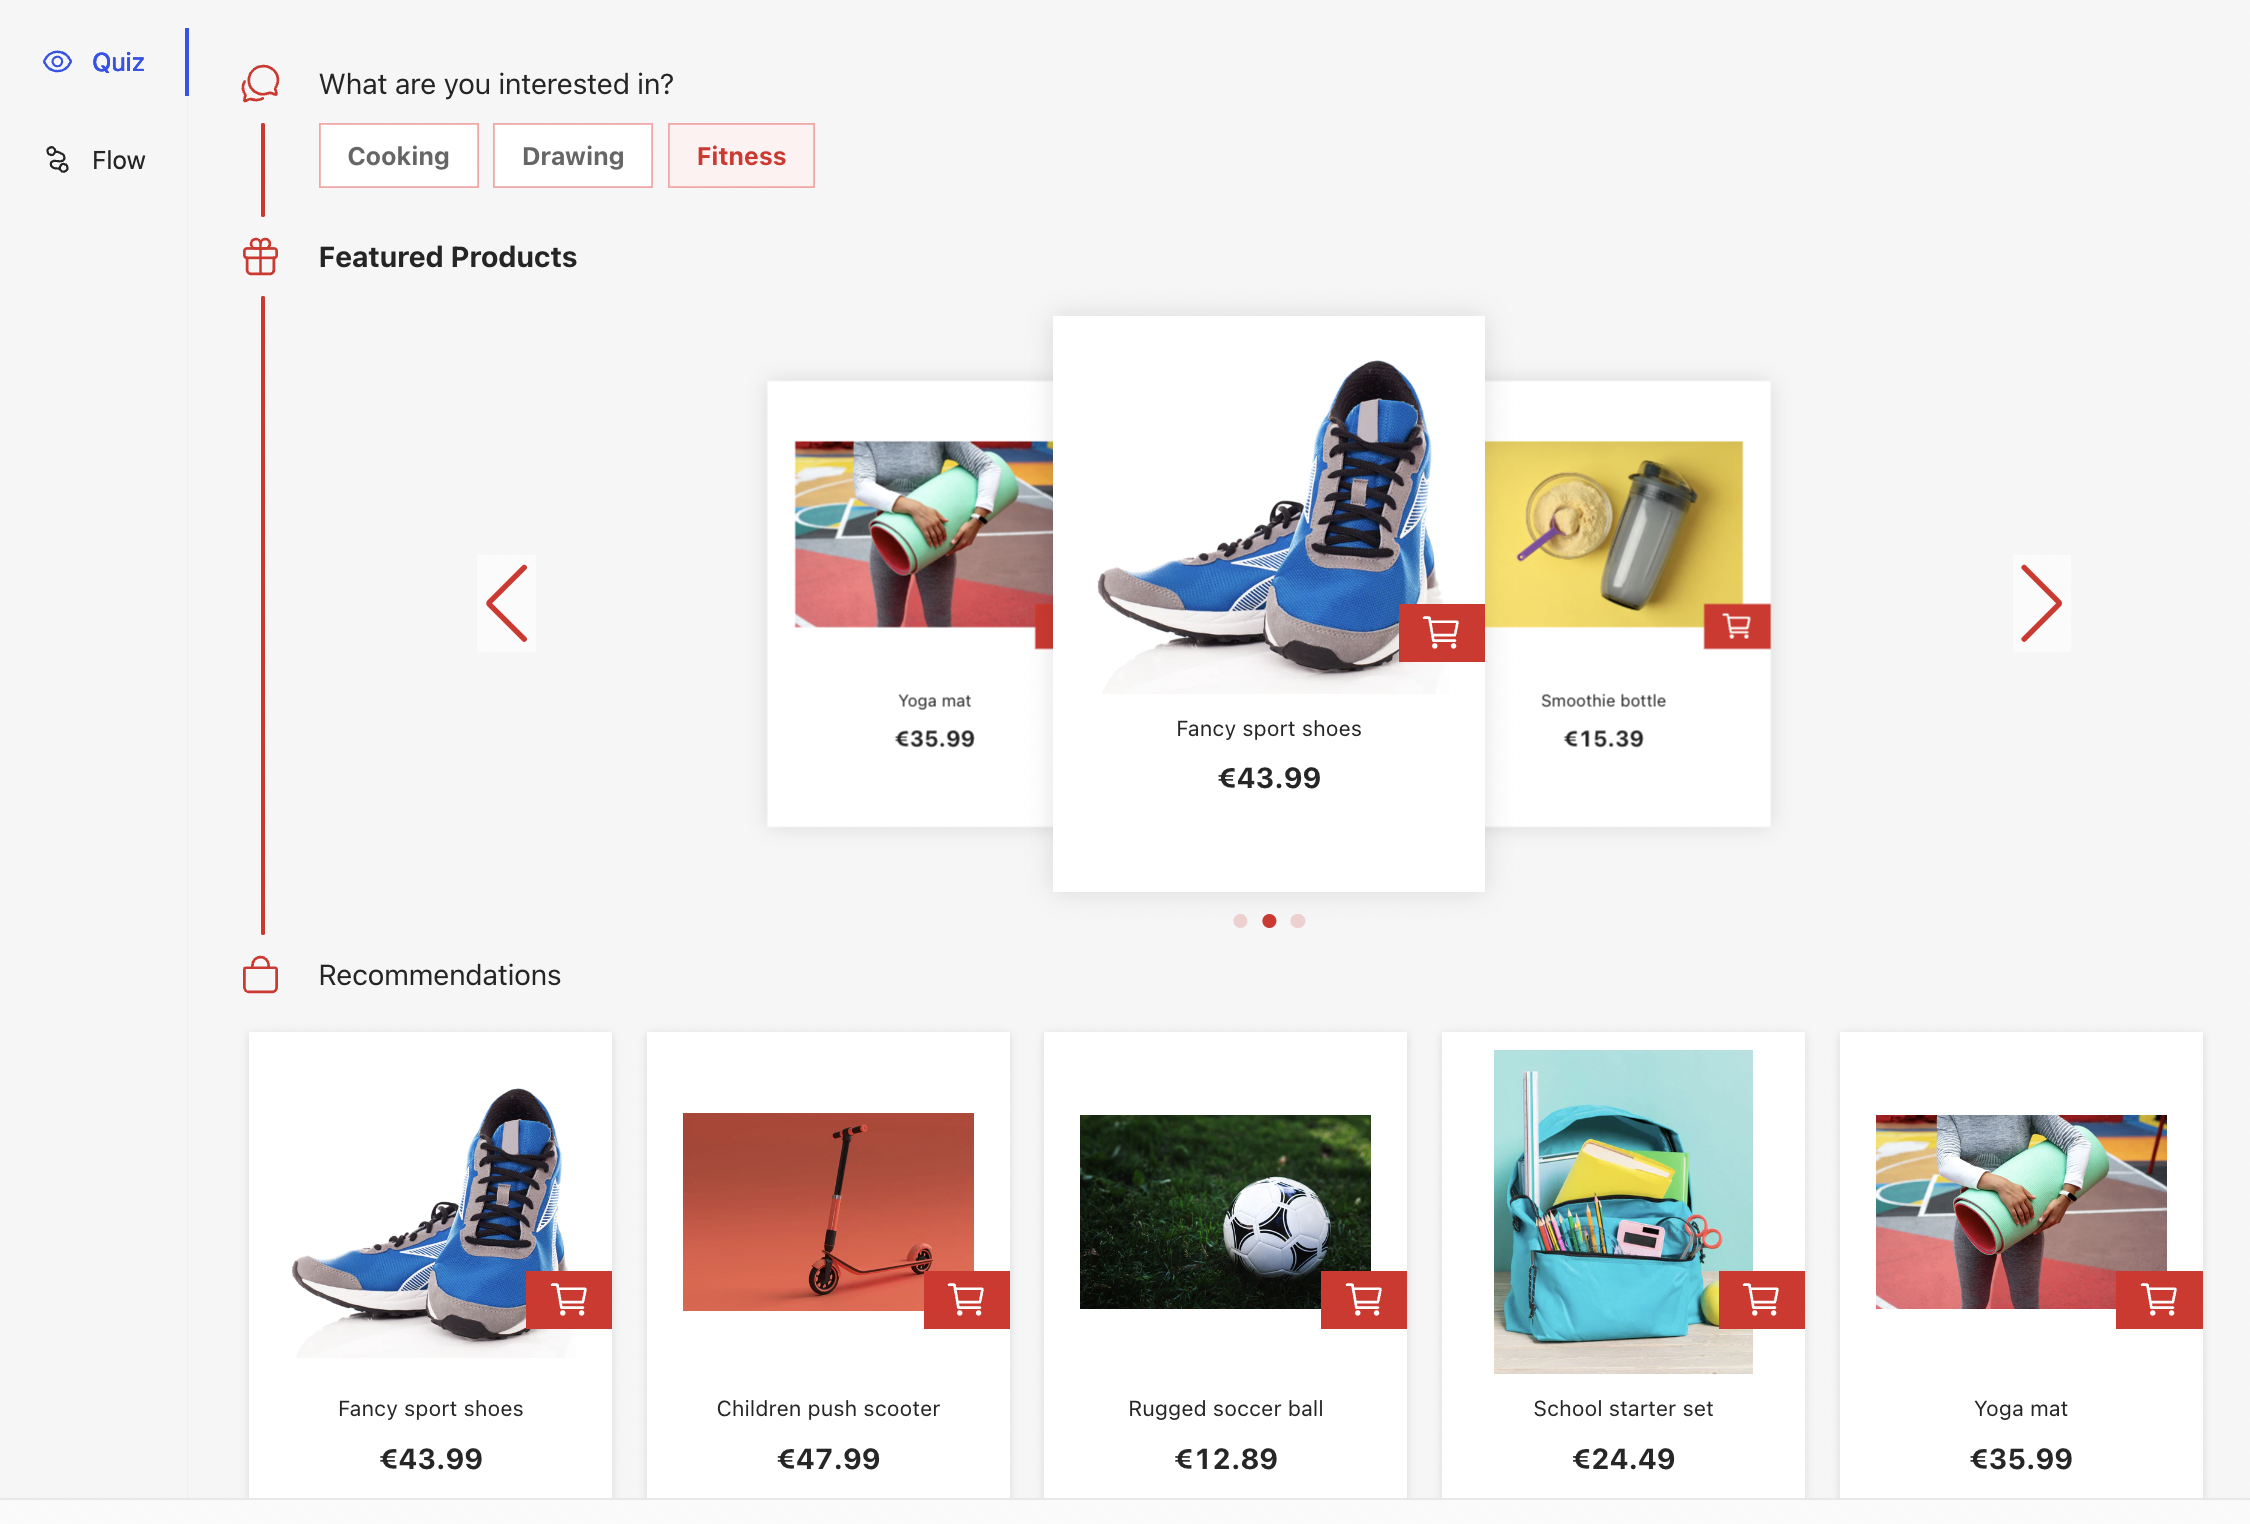
☝️In preview mode all questions and possible answers will be shown. In the real quiz in your online shop, answers without products are hidden. If you detect answers that lead to an empty result you might want to tag more products or change the filters assigned to the quiz answers.
Embed quiz in online shop
Shopify
Now you are ready to integrate the Product Finder into your Shopify shop.
If you are using an Online Store 2.0 theme (like Dawn) you can follow the instructions in this video:
Otherwise follow these instructions:
- In the Product Finder admin app go to the Settings > Integration section
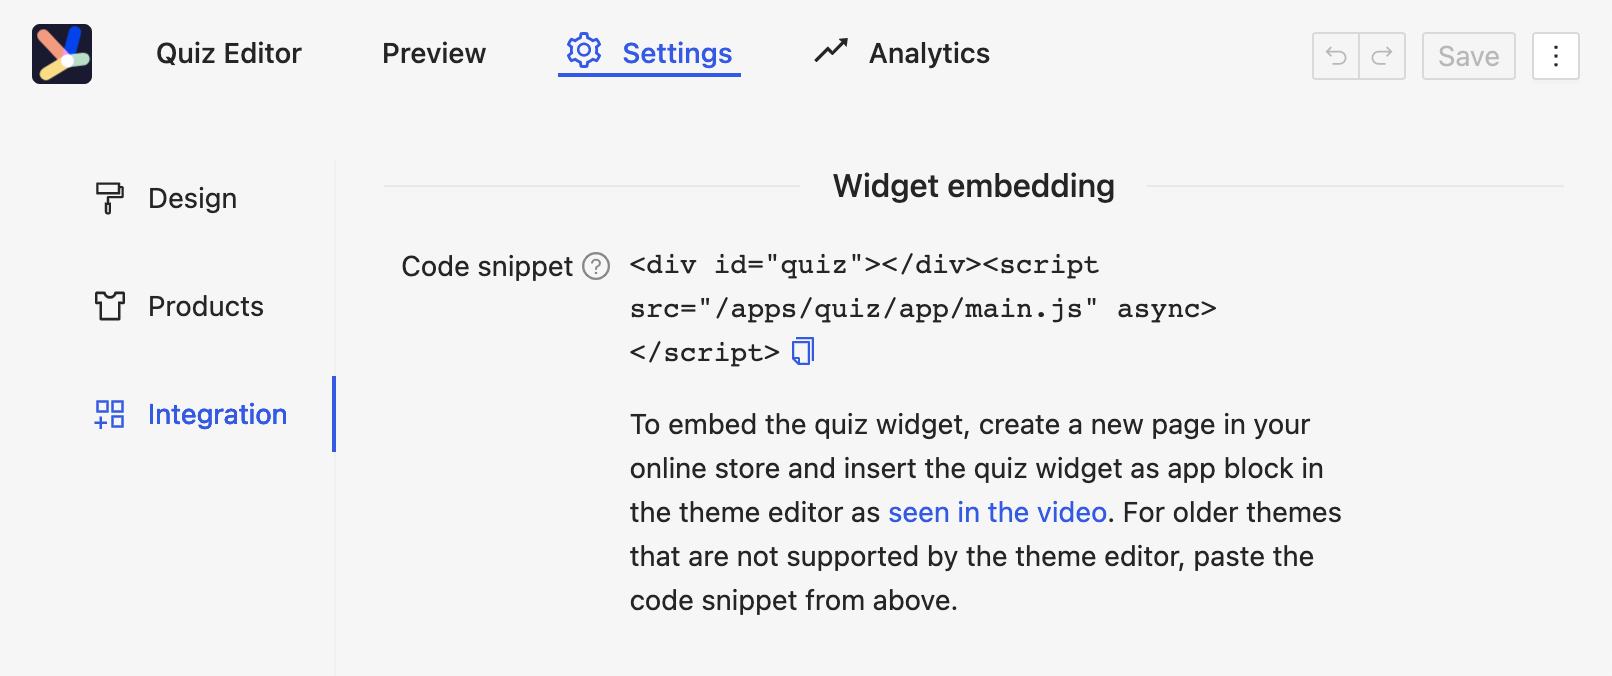
- In the Widget embedding section copy the HTML snippet by clicking the blue copy icon
- In the Shopify admin go to Online Store > Pages
- Click on Add page

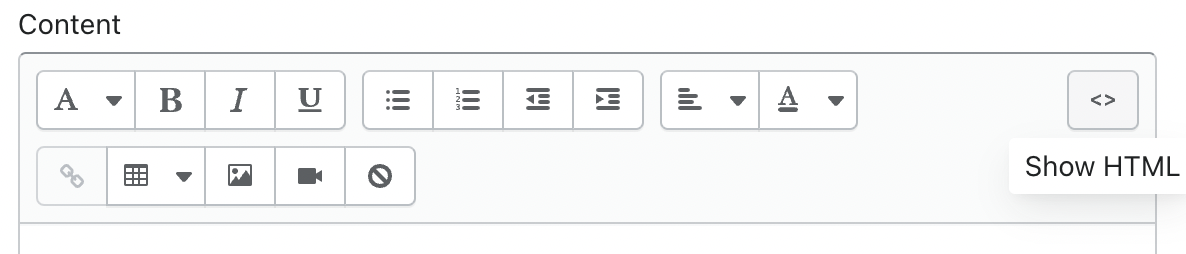
- Click the Show HTML icon in the top right corner of the Content section
- Paste the copied HTML snippet into the Content text area
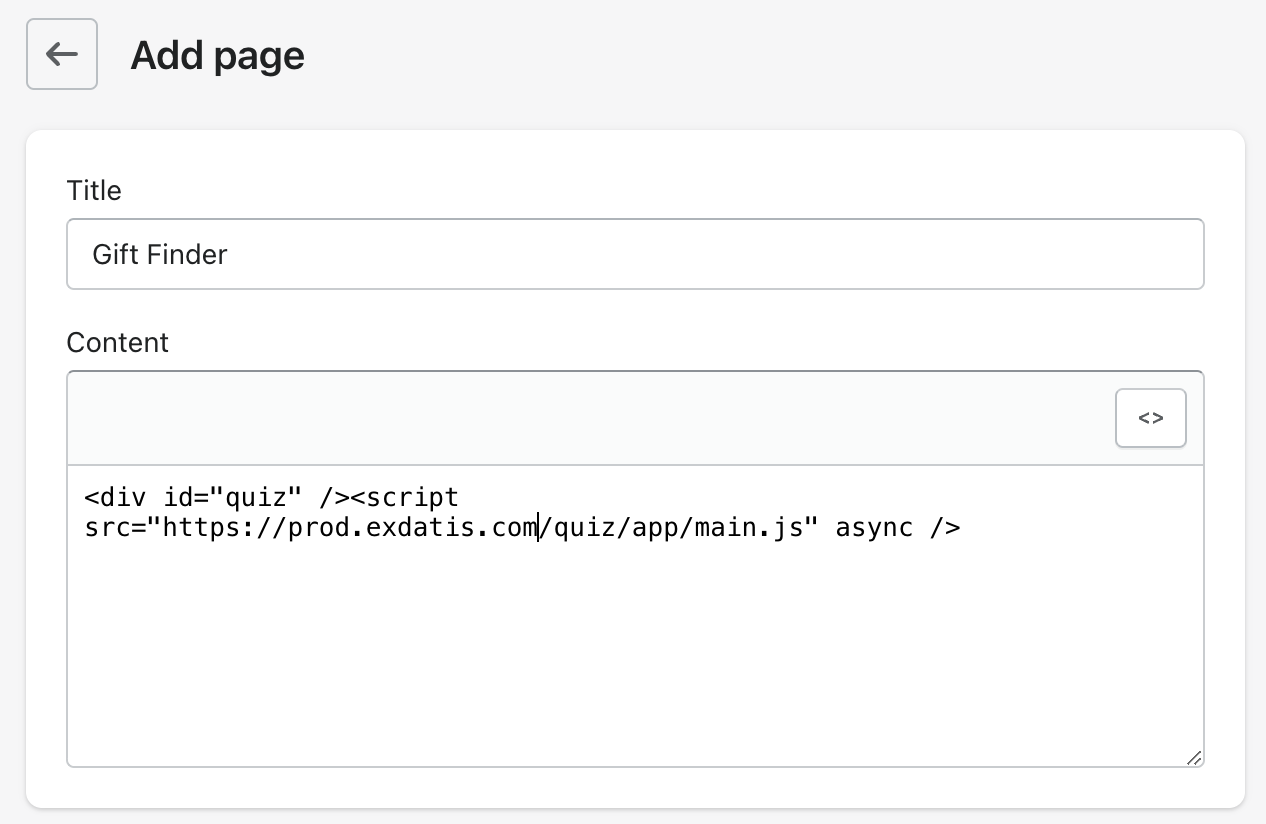
- Add a page title
- Save the changes